Front EPart E · Gift Ideas № 48
Gift Ideas
How to Put Tissue Paper in a Gift Bag
How to put tissue paper in a gift bag: line the base, wrap the gift in a sheet, then add pinched or fanned sheets on top so the bag looks full and tidy.
3 minutes

Most gift bags come out looking either flat or stuffed with crumpled paper. The fix takes about two minutes. Tissue does three jobs in a bag: it pads the base, it cushions and hides the present, and it fans out at the top so the bag looks generous. Treat those as three separate layers and the result looks tidy every time.
What you need
- A gift bag a little taller than the present, so the tissue has room to stand above the gift.
- Four to six sheets of tissue paper. Two colours that suit the bag look more deliberate than one.
- A tag and, if you like, a short length of ribbon for the handles.
The three-layer method
- Line the base. Fold one sheet into a rectangle roughly the size of the bottom of the bag and lay it flat inside. It hides the cardboard base and gives the gift a soft landing.
- Wrap the gift. Loosely wrap the present in one sheet, or tuck a sheet around it on both sides. This keeps it from rattling and stops anyone peeking through the gap between the handles.
- Prepare the top sheets. Take two or three sheets and use one of the techniques below: the pinch or the fan.
- Place and adjust. Push the gathered ends down into the bag, between the gift and the sides, so the points or folds stand up above the rim. Tease them apart gently with your fingers until the top looks full but not crushed.
Two ways to style the top
| Technique | How to do it | Looks like |
|---|---|---|
| The pinch | Lay a sheet flat, pinch it in the centre, lift it so the corners hang down, then twist the pinched point lightly. | Soft peaks, a little like a flower |
| The fan | Stack two sheets of different colours slightly offset, fold them in a concertina, then pinch the folded strip in the middle and bend it in half. | Layered, structured edges with both colours showing |
The pinch is quicker and suits soft, casual bags. The fan looks crisper and works well when the bag is a solid colour and the tissue adds a pattern or accent.
Bottles, jars and awkward shapes
Tall bottle bags need less tissue on top but more around the sides. Wrap the bottle in a sheet first so it does not knock against anything, then tuck a pinched sheet beside the neck so a little colour shows. When the present is a bottle chosen for someone's birthday or as a dinner-party thank-you, the advice in building a small home cellar with a gift shelf makes it easier to always have one ready. Glass jars and candles benefit from an extra sheet at the base and around the middle.
For very small items such as jewellery, put the gift in a little box or pouch first. Loose small things tend to slip to the bottom of the tissue and get lost, or worse, thrown away with it.
Small touches that finish it off
- Tie the handles together with a ribbon; the steps in tying a neat ribbon bow work just as well on bag handles as on a box.
- Tuck a cotton sachet of dried petals among the top sheets for a gentle scent; a mix from homemade potpourri is ideal.
- Write the tag before you start, then thread it on the handle so it does not get buried in the tissue.
- Smooth creased tissue with a cool, dry iron on the lowest setting, with a cloth in between, or simply use those sheets for the bottom layer.
Bag or wrapping paper?
A bag is the right call for odd shapes, last-minute gifts and anything heavy. Wrapping paper still wins for boxed presents, for a crisp look under a tree, and when the unwrapping is half the fun; the method in wrapping a boxed present neatly covers that side. Both bags and tissue can be smoothed, folded flat and stored for next time, which keeps a drawer of reusable wrapping topped up.
Questions? Write to us.
Suggestions help us plan.
Further in section E · Gift Ideas
-
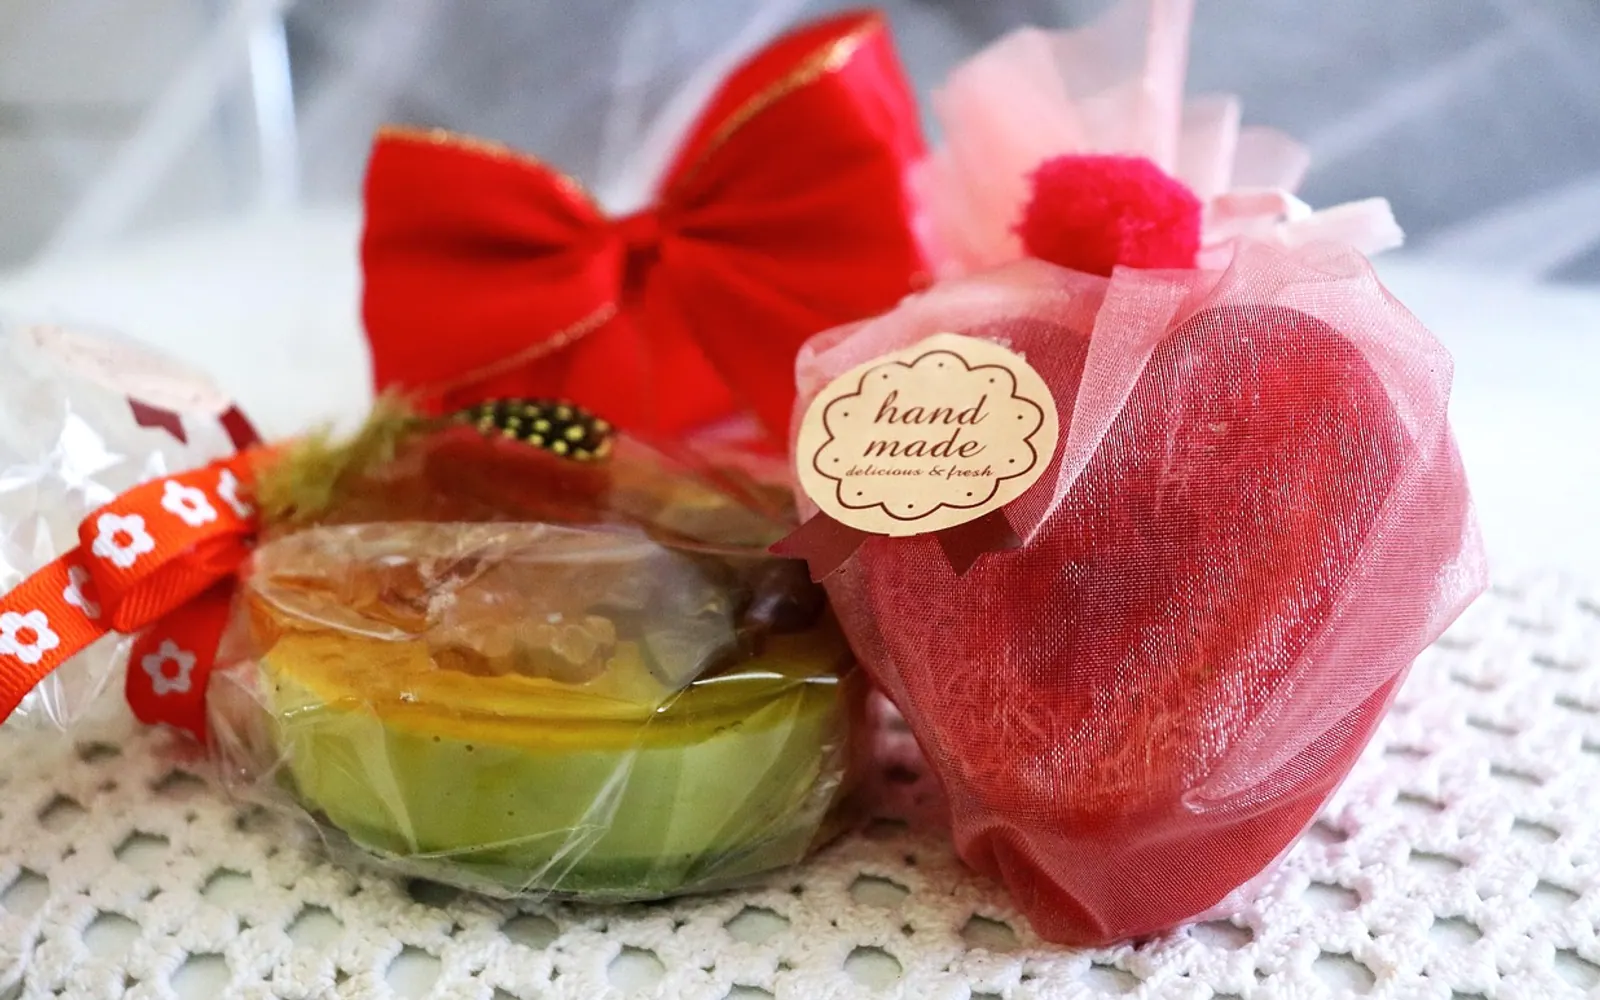 Gifts and Souvenirs to Bring Home from Seoul · 5 minutes
-
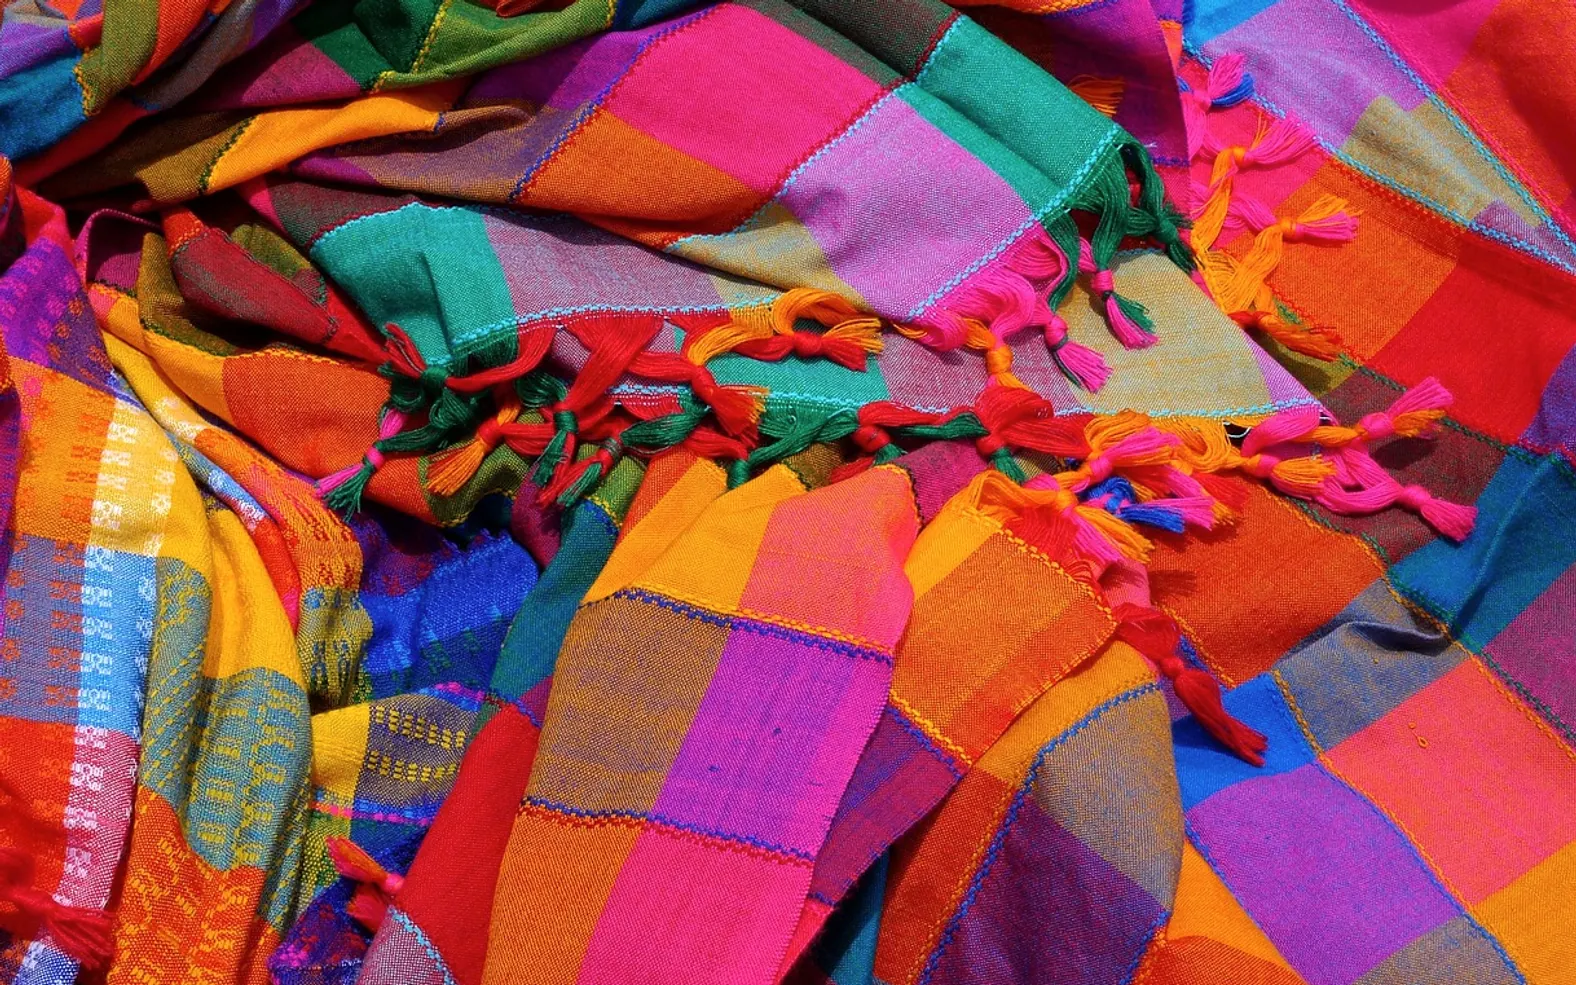 Furoshiki: How to Wrap a Gift in Fabric · 4 minutes
-
 White Elephant Rules: How the Gift Exchange Works · 4 minutes