Front EPart E · Gift Ideas № 30
Gift Ideas
How to Wrap a Gift Neatly
How to wrap a gift neatly: measure the paper, fold crisp edges, hide the tape and add ribbon, plus quick fixes for bottles and soft presents.
4 minutes
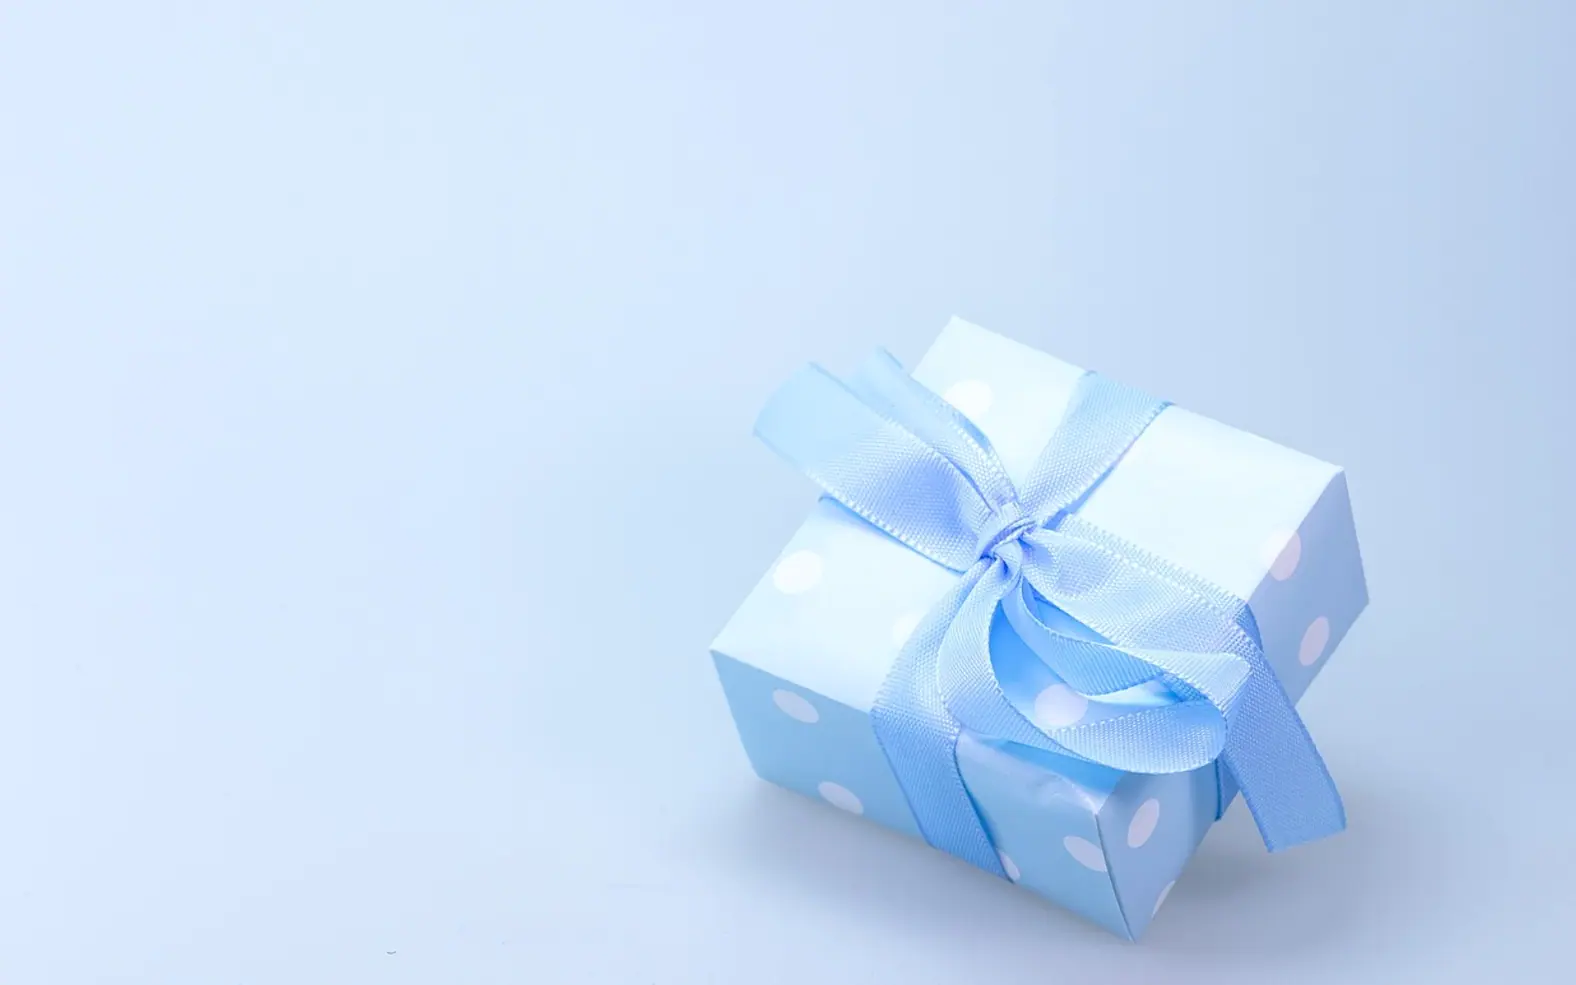
There is a particular moment every gift-giving season: the present is bought, the paper is unrolled, and somehow the result looks like it lost a fight. The good news is that tidy wrapping does not depend on a gift for crafts. It comes down to a handful of habits that professional wrappers use without thinking: cut the right amount of paper, fold every raw edge under, and keep the tape where nobody will see it.
Gather your kit first
Stopping halfway to hunt for scissors is how corners get crumpled. Lay everything out on a clear, hard surface before you start.
- Wrapping paper. Thicker paper hides the box's corners and tears less; very thin paper shows every crease.
- Sharp scissors. A clean cut gives a clean edge, and a clean edge is half the battle.
- Tape. Double-sided tape is the secret behind seamless-looking parcels; matte clear tape is the next best choice.
- Ribbon, twine or a strip of fabric for the finish, plus a tag.
- A ruler or a long, straight edge if your paper does not have a printed grid on the back.
The classic box method
- Take off the price tag and, if the gift is not already boxed, find a box for it. Boxes are far easier to wrap than loose objects.
- Measure the width. Set the box face down in the middle of the paper. Bring one side of the paper up and over the box, then the other, so they overlap by a few centimetres. Cut along that line.
- Measure the ends. The paper should stick out past each end of the box by a little more than half the box's height. Too much paper creates bulky lumps; too little leaves gaps.
- Fold the top edge under. Before closing the long seam, fold a narrow strip of the outer edge under itself. This hides the cut edge and gives a crisp line.
- Close the seam. Wrap the paper snugly around the box and fix the folded edge with a strip of double-sided tape placed underneath, so the seam closes without visible tape.
- Tackle the ends. Push the top flap down against the end of the box, which creates two triangular side flaps. Fold those in firmly, creasing along the box edges with a fingernail.
- Finish the triangle. Fold the bottom flap's edge under for a clean line, bring it up and secure it with double-sided tape. Repeat on the other end.
- Crease every edge. Run your thumb and finger along all twelve edges of the box. Sharp creases are what make a parcel look shop-wrapped.
Finishing touches that do the heavy lifting
Ribbon covers small mistakes and makes plain paper feel deliberate. For a classic cross, lay the ribbon under the box, bring both ends to the top, twist them around each other, run them around the other direction and tie a bow where they meet. Cut the ribbon tails on a diagonal or into a small V so they do not fray.
Not a bow person? A sprig of rosemary, a dried orange slice, a paper star or a handwritten tag tucked under twine all look charming, especially on brown kraft paper.
Awkward shapes, solved
| Gift | Easiest approach |
|---|---|
| Bottle | Roll it in paper like a cracker, gather the paper at the neck and tie with ribbon; or slip it into a tall gift bag with tissue. |
| Soft items such as scarves or jumpers | Fold neatly around a piece of card, or place in a box or flat envelope first. |
| Round items | Use tissue paper, which gathers gracefully, and twist it closed at the top. |
| Very large items | Wrap only a big bow around the item, or cover it with a fabric throw and attach the tag. |
| Oddly shaped toys | Use a spare box, a cylinder from a kitchen roll tube, or a reusable cloth bag. |
Wrapping with fabric
The Japanese tradition of furoshiki wraps gifts in a square of cloth tied with knots instead of tape. A large scarf or a tea towel works perfectly. Place the gift diagonally in the centre, fold two opposite corners over it, then tie the remaining two corners in a firm knot on top. The wrap becomes part of the present and can be used again.
Common mistakes to avoid
- Cutting the paper too large, which leads to thick, lumpy ends.
- Leaving raw edges showing instead of folding them under.
- Using lots of short pieces of shiny tape where one hidden strip would do.
- Wrapping on a soft surface such as a bed or sofa, which makes creasing impossible.
Once the wrapping clicks, it is tempting to go one step further and build a whole themed bundle; our step-by-step on making a gift basket picks up exactly there. For more small, thoughtful ideas, browse the rest of our Gift Ideas section.
Questions? Write to us.
Suggestions help us plan.
Further in section E · Gift Ideas
-
 Furoshiki: How to Wrap a Gift in Fabric · 4 minutes
 -
 White Elephant Rules: How the Gift Exchange Works · 4 minutes
 -
 How to Tie a Bow With Ribbon · 4 minutes