Front EPart E · Gift Ideas № 41
Gift Ideas
How to Tie a Bow With Ribbon
How to tie a bow with ribbon, step by step: the classic two-loop bow, a full florist bow, wired ribbon tips and how to tie a ribbon around a box neatly.
4 minutes
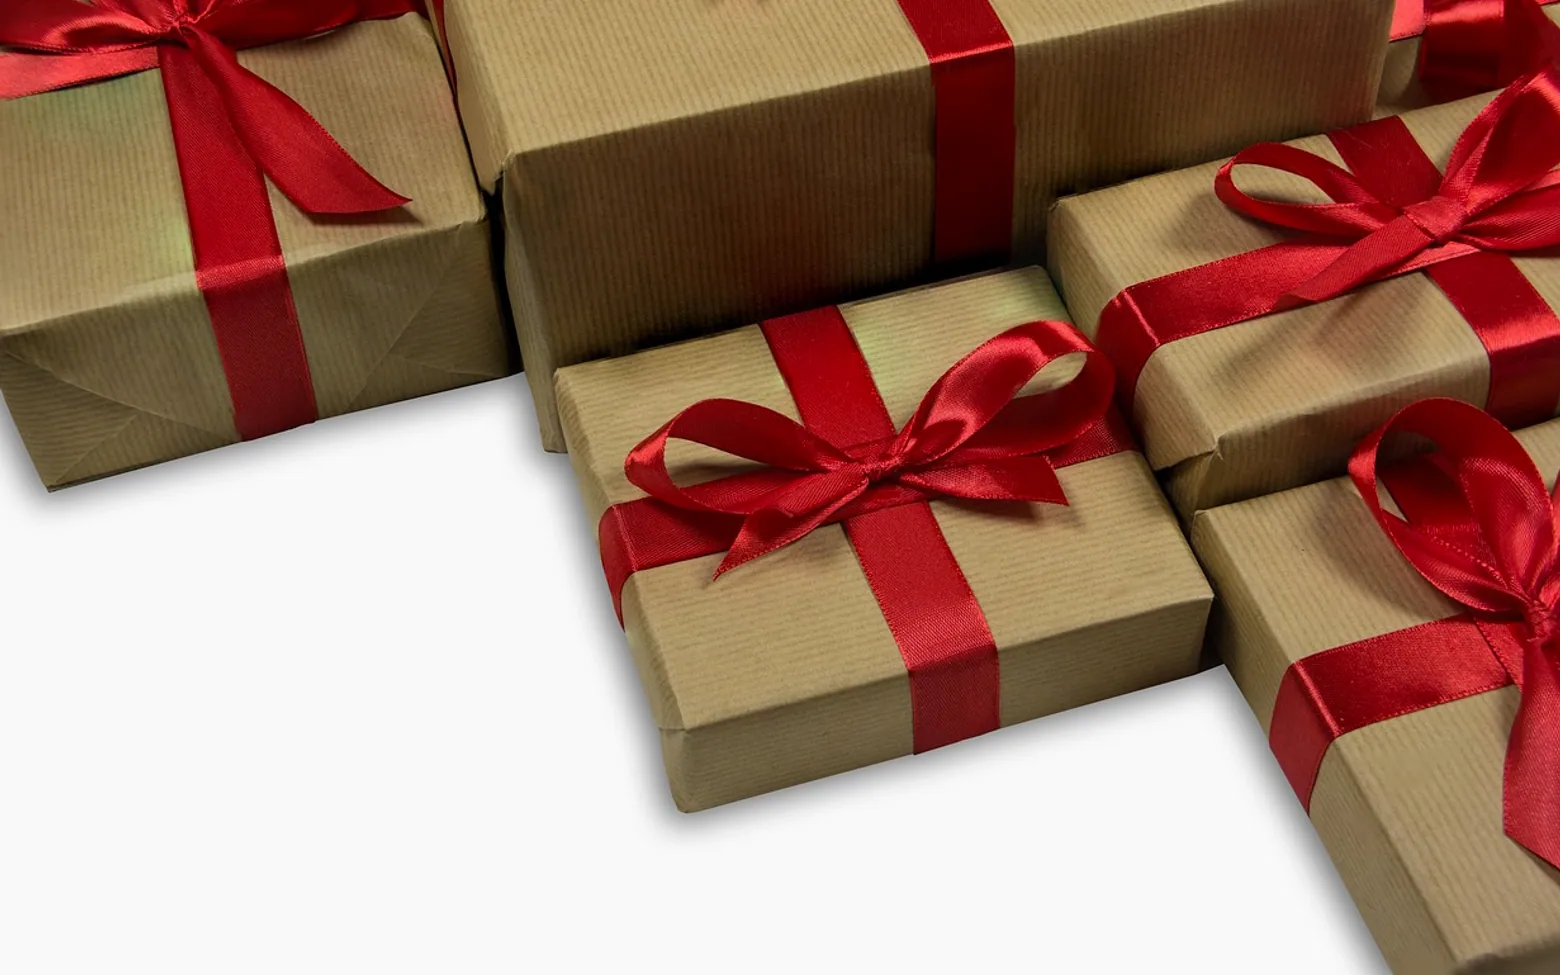
A neat ribbon bow uses the same knot as a shoelace, tied with more care. Make two equal loops, cross them, tuck one through, pull the centre tight, then adjust the loops and trim the tails at an angle. Most bows look lopsided for one of three reasons: the loops were different sizes, the knot was not tightened before the loops were shaped, or the ribbon twisted. Fix those and every bow improves.
Pick the right ribbon
| Ribbon | What it does well | Watch out for |
|---|---|---|
| Satin | Smooth, shiny bows on small gifts and clothing | Slips, so knots need a firm pull |
| Grosgrain | Crisp, ribbed bows that hold their shape | Stiffer, so loops look more structured |
| Wired | Large, full bows and wreaths; loops can be shaped | Kinks if bent sharply |
| Velvet | Rich, seasonal look | Has a right and wrong side; keep the pile facing out |
| Paper raffia or twine | Rustic, low-waste wrapping | Frays; trim neatly |
Ribbon with a definite front and back is easier to manage if you give it a half twist at the knot, which keeps the good side showing on both loops.
The classic two-loop bow
- Cross the ends. With the ribbon around the gift or object, cross the left end over the right and tie a single knot. Pull it snug.
- Make the first loop. Fold the bottom end into a loop, the size you want the finished bow to be.
- Wrap. Take the other end over and around the front of the first loop.
- Tuck. Push it through the gap behind the knot to form a second loop of the same size.
- Tighten. Hold both loops and pull them outwards firmly, so the knot locks in the centre.
- Adjust. Tug the tails and loops gently until they match and sit flat.
If the bow ends up vertical rather than horizontal, the first knot was crossed the other way. Untie and start with the opposite end on top.
How to make a bow with ribbon off the parcel
Sometimes it is easier to make a bow on the table and attach it afterwards. This "bunny ears" method gives a tidy result every time.
- Cut a length of ribbon and make two loops side by side, like bunny ears, leaving tails below.
- Cross the left loop over the right.
- Tuck it under and through the hole, as if tying a shoe.
- Pull the loops tight and shape them.
- Fix the bow to the gift with a short piece of ribbon tied around it from behind, or with a glue dot.
A full florist bow
For large gifts, baskets and wreaths, a multi-loop florist bow looks generous. Wired ribbon makes it far easier.
- Leave a tail and pinch the ribbon between your thumb and forefinger. This pinch is the centre of the bow.
- Make a loop to one side and bring the ribbon back to the centre, giving it a half twist so the good side stays out.
- Make a matching loop on the other side and pinch again.
- Repeat, making each pair of loops slightly smaller than the last, until you have three to five pairs.
- Make a small loop over your thumb for the centre.
- Thread a piece of thin wire or a pipe cleaner through the centre loop, twist it tightly at the back, and use the ends to attach the bow.
- Fluff and separate the loops so they fill out evenly.
How to tie a ribbon around a box
The classic cross
- Place the box on the middle of the ribbon, face down.
- Bring both ends up and cross them over the bottom of the box.
- Turn the ribbon 90 degrees and run the ends around the other two sides.
- Turn the box over. The ribbon now forms a cross on top. Tie the ends at the centre with a knot, then a bow.
The corner wrap
Loop the ribbon diagonally across one corner of the box and tie the bow on the edge. It uses much less ribbon and looks modern on small boxes.
Either finish works best on paper that has been folded neatly; our guide on how to wrap a gift neatly covers clean edges and hidden tape. For a gift with no paper at all, try the knotted cloth in furoshiki fabric wrapping.
Finishing the tails
- Angle cut: snip each tail diagonally to reduce fraying.
- Dovetail cut: fold the tail in half lengthways and cut from the edge up towards the fold at an angle, giving a V-shaped notch.
- Curled tails: for curling ribbon only, run a scissor blade firmly along the ribbon to make spirals.
Quick fixes
Why does my bow keep coming undone?
Slippery ribbon such as satin needs a tighter first knot. Some people tie a double knot first, or add a small dot of glue at the back of the centre.
How much ribbon do I need?
Measure around the box in both directions, then add plenty for the bow itself. For a full florist bow, allow a generous length, since each loop uses ribbon twice.
Can I reuse ribbon?
Yes. Wind used ribbon around a piece of card and press creased satin with a cool iron. A neatly stored ribbon box makes the finishing touches on a homemade gift basket or a seasonal wreath almost free.
Questions? Write to us.
Suggestions help us plan.
Further in section E · Gift Ideas
-
 Furoshiki: How to Wrap a Gift in Fabric · 4 minutes
 -
 White Elephant Rules: How the Gift Exchange Works · 4 minutes
 -
 Salt Dough Ornaments: Recipe, Shaping and Drying · 4 minutes