Front GPart G · Crafts № 33
Crafts
How to Make a Vision Board
How to make a vision board you will actually look at: pick a few goals, gather images and words, arrange them with intent and hang it in view.
3 minutes
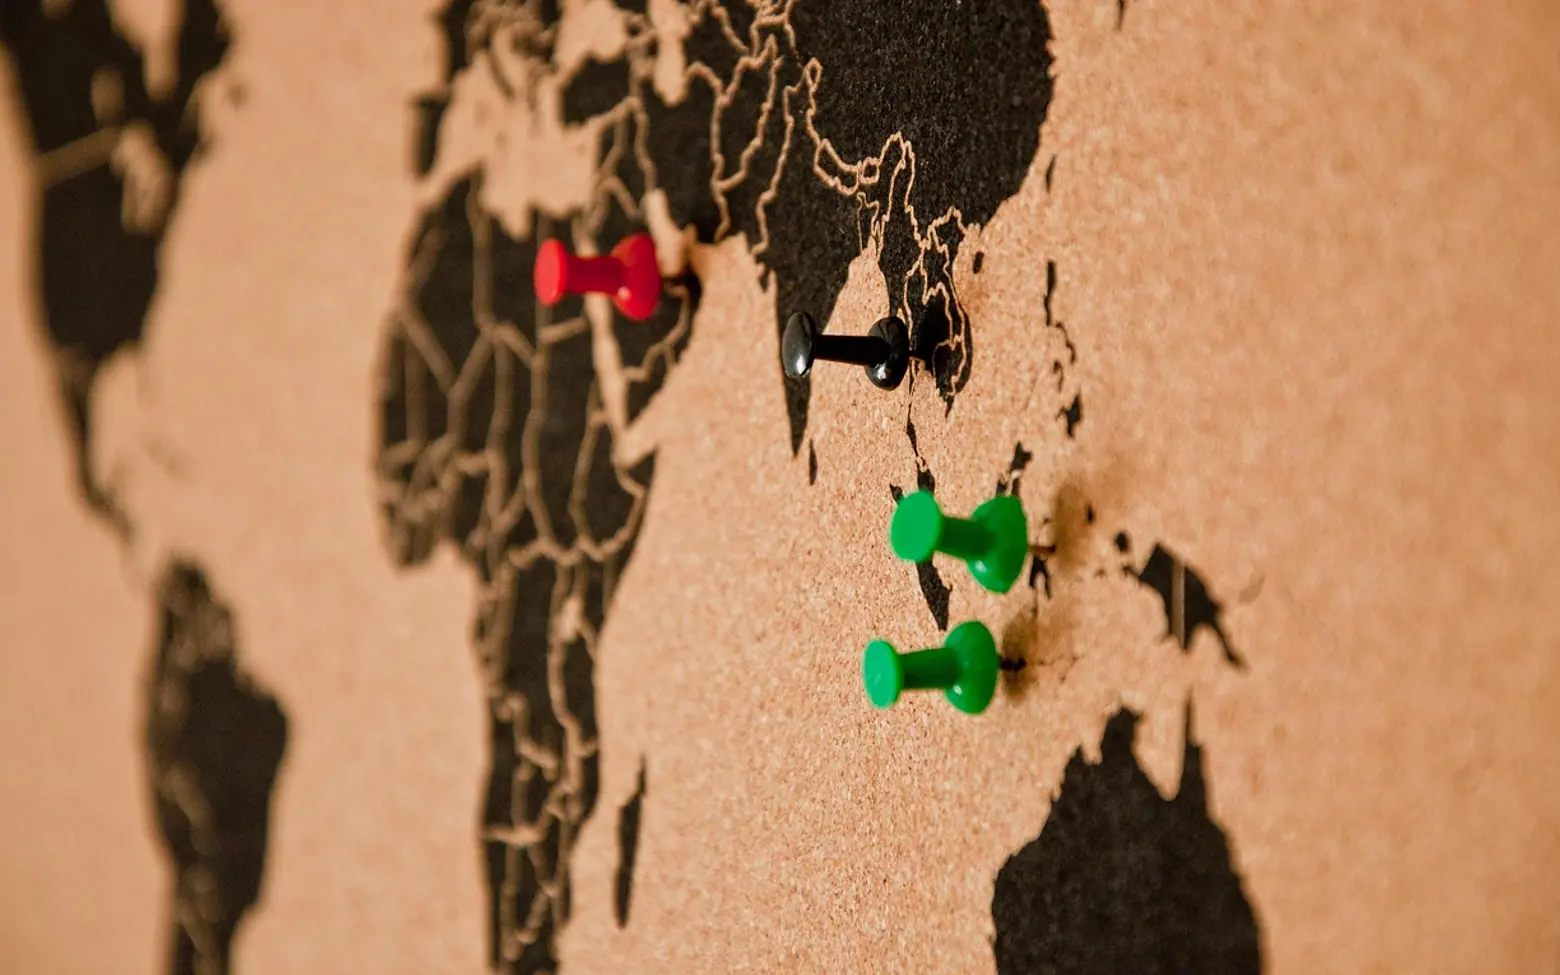
A vision board is part craft project, part planning exercise. You gather pictures, words and small objects that stand for what you want more of in the months ahead, arrange them on a single surface and hang it where you will see it. It will not do the work for you, but it keeps your intentions visible on ordinary days when they would otherwise slide out of mind. And making one is a genuinely enjoyable afternoon.
Before you pick up the scissors
The most common reason vision boards end up in a drawer is that they try to hold everything. Spend ten minutes with a notebook first and answer a few questions:
- What would make the coming year feel good to look back on?
- Which areas matter most right now: home, work, creativity, friendships, travel, health, learning?
- What do you want to feel more often, not just achieve?
Narrow it down to three to five themes. Fewer, clearer themes give the board a focus and make it easier to act on.
Choose your format
| Format | Good for | Keep in mind |
|---|---|---|
| Cork board | Changing things as you go; pins make swaps easy | Needs wall space and a few pins |
| Poster board or card | A classic glued collage with a finished look | Harder to update later |
| Notebook spread | Privacy and portability | Out of sight unless you open it |
| Digital board | Phone or laptop wallpaper you see constantly | Easy to scroll past; less hands-on fun |
Gather your materials
- A base: cork board, card, foam board or a page in a sketchbook.
- Old magazines, catalogues, postcards, travel brochures and printed photos.
- Scissors, a glue stick or washi tape, and pins if you are using cork.
- Markers or letter stickers for words and headings.
- Optional extras: fabric scraps, pressed flowers, ticket stubs, paint swatches.
If you print images from the internet, keep the board for your own personal use and pick pictures you would happily see every day.
Making the board, step by step
- Collect more than you need. Flip through your materials and cut out anything that catches your eye for one of your themes. Do not judge yet.
- Edit ruthlessly. Spread the cuttings out and keep only the ones that give you a small jolt of recognition. Set the rest aside for a future project.
- Add words. Short phrases work better than long quotations: a single verb like create or explore, or a phrase in your own words such as "weekend sketching" or "dinner with friends, often".
- Sketch the layout. Arrange everything loosely before gluing. Some people give each theme its own zone; others place a central image that sums up the year and let the rest radiate out.
- Leave some breathing room. A board crowded edge to edge is hard to read. White space lets key images stand out.
- Fix it in place. Glue, pin or tape everything down, starting with the larger images and layering smaller pieces on top.
- Add a date. Writing the month and year in a corner turns the board into a time capsule when you look back.
Turn pictures into plans
A vision board becomes far more useful when each theme has at least one concrete next step attached. On the back of the board, or on a sticky note in the corner, jot down a small action for each theme. A picture of a mountain path might pair with "walk a new trail once a month"; a photo of a cluttered desk transformed into a calm one might pair with "clear one drawer this weekend".
Ideas for themes and matching actions
- Creativity: block one evening a week for a hobby.
- Travel: start a list of places within a day's drive.
- Home: pick one room to refresh this season.
- Learning: choose a short online course or a library book on a new topic.
- Connection: set a recurring call with a friend who lives far away.
Where to hang it and when to refresh it
Place the board somewhere you pass daily: above a desk, beside a mirror, inside a wardrobe door. Every few months, take a fresh look. Swap out images that no longer fit, celebrate what has moved forward and add new pieces. Treat it as a living project rather than a finished artwork.
A vision board pairs naturally with writing things down in a notebook you keep nearby. For more hands-on projects, browse our Crafts section.
Questions? Write to us.
Suggestions help us plan.
Further in section G · Crafts
-
 How to Make a Wreath · 4 minutes
 -
 Salt Dough Ornaments: Recipe, Shaping and Drying · 4 minutes
 -
 How to Make a Scrapbook · 4 minutes