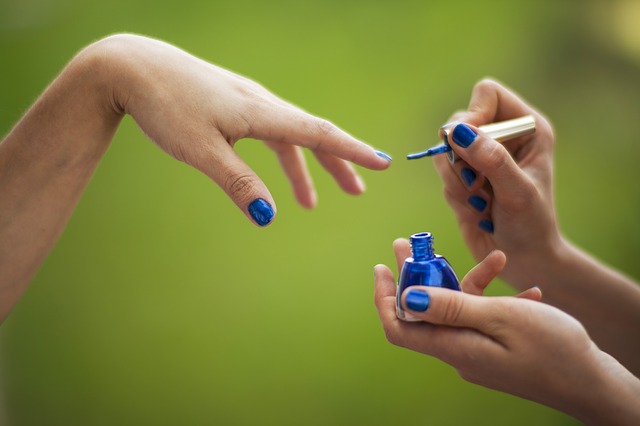
Gel nails are an appealing choice for a more lasting alternative to traditional polish manicures. Gel nails have a more natural appearance than acrylic nails, and the application process is faster since UV light hardens the materials in the gel. Another perk of using gel nails is that you can avoid the strong chemical fumes associated with acrylic nails. Gel nails are a great idea for special occasions or everyday use, and last much longer than polish alone.
Prepping Your Natural Nails to Apply Gel Nails
When you select a gel nail kit or kit de uñas to apply at home, the first step (after removing any old polish) is to give yourself a manicure. Trimming, shaping and buffing your nails will help to make them a suitable base for gel polish. Also, since gel only covers your natural nails the appearance of the underlying nails is important. Trim your fingernails to the desired length and shape them how you would like them to look. Unlike acrylic nails gel coating relies on the shape and length of the natural nails.
After you cut, file, and buff your nails it is time to focus on your cuticles. Not only will this give an attractive and clean appearance for the end result but it will ensure the gel adheres to your nails and not your skin. Use a cuticle pusher and cuticle trimmer to push back and clean up the skin around your nail bed. The final step before applying the gel is to clean your nails with acetone to remove any remaining oils or file dust from your nails.
Applying Gel Polish to Your Nails
Start the process by applying a very thin layer of primer to your nails. Once the primer dries apply a thin layer of base coat. Be very careful not to get any on your skin, and ensure this layer becomes very dry before applying additional coats. It often helps to brush some of the base coat along the edge of your fingernail to ensure they don’t chip. It’s also important to remember each layer will be sticky to help adhere the next layer, so don’t be concerned.
After applying the base coat place your nails under the UV light for the recommended time based on the product. Once the base coat has been cured you can start applying the gel nail polish of your choice. Each layer should be dried under the UV light for approximately 30 seconds or based on directions. The amount of layers you do depend on the end look you are seeking but often vary between 1 and 3 coats.
Finishing The Manicure
Once you’ve applied and dried the desired amount of layers of polish you need to finish your gel nails with a top coat. Cure the top coat for about 15 seconds or the time recommended on the kit instructions. Use gel cleanser wipes to clean any remaining sticky residue off of your nails. When working on your own nails it is often helpful to do only one hand at a time, or even do your fingers first and your thumbs last. This will ensure you are less likely to experience mistakes and smudges during the process.

